YOUR ANSWER IS JUST ONE SEARCH AWAY
Need Help?
Exporting from Triana
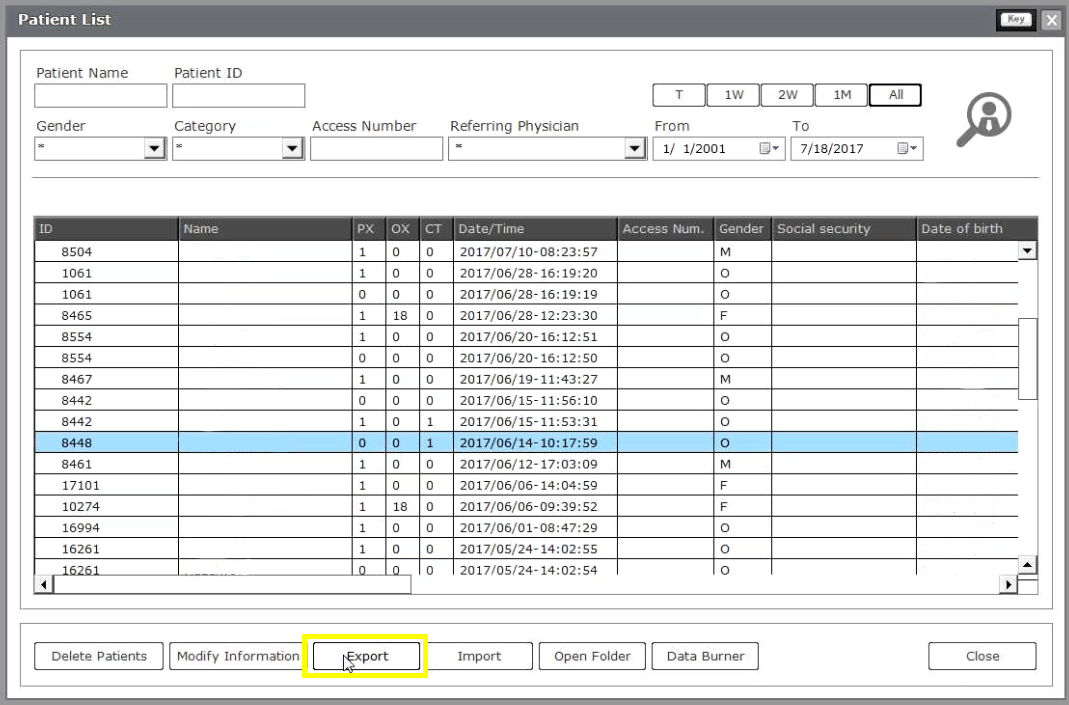
2. Select the patient in the database and click “Export”.
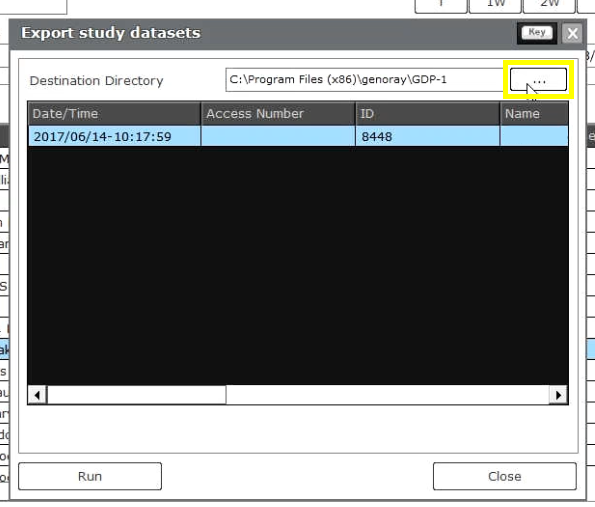
3. Select the scan and click the button “. . .” and a pop up will appear for the save location. Select the folder we just made on the desktop and click “OK”.

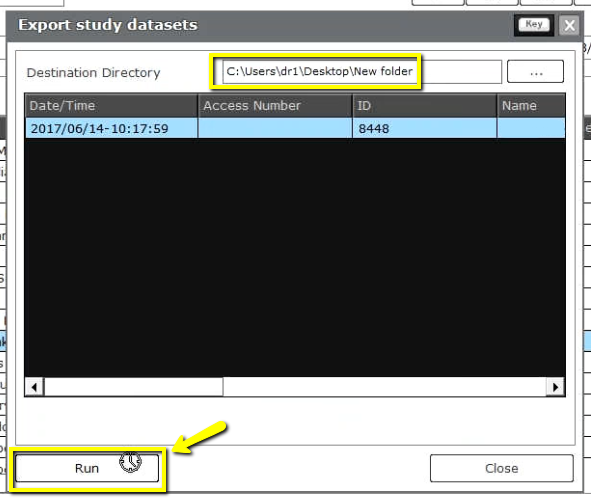
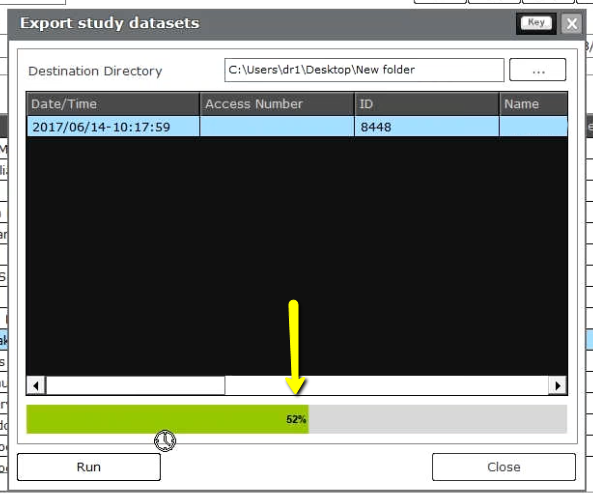
4. The pop up will disappear. Verify you have the correct folder selected and click “Run”. A bar will begin loading.
5. After the DICOM exports and saves, go to the patients’ folder and double click to open. Double click on the study.
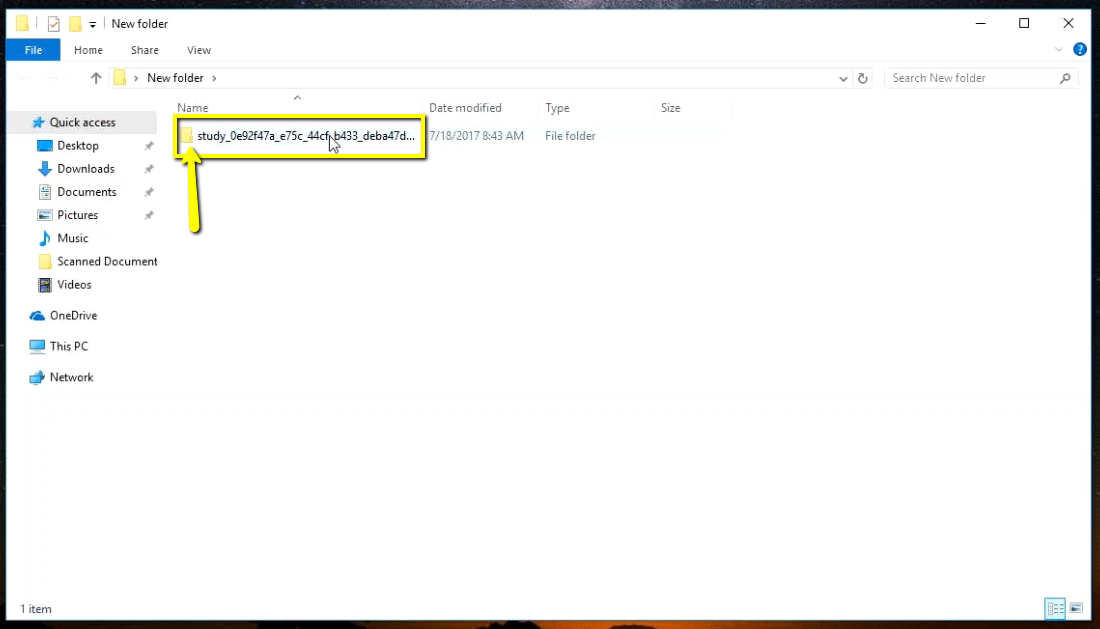
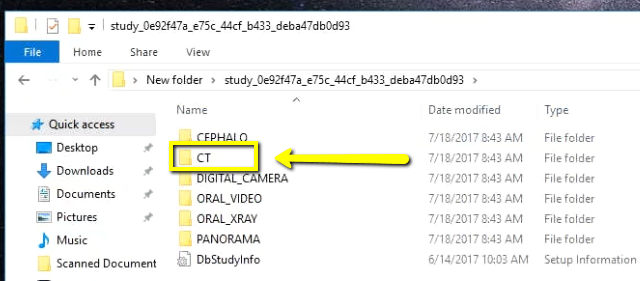
Double click on “CT”.
Double click on the “CT_Jaw” folder.

Double click on “Slice Data”. This folder should contain the multi-file DICOM.

6. Drag the SliceData folder to the Desktop.

7. Right click on the patients folder, go to “Send to”, and select “Compressed (zipped) folder”. A duplicate folder will be made with either a zipper on it, or a blue “Z”. (*** If following a Dual Scan Protocol, please zip scans individually and label accordingly; i.e: “Patient Scan” and “Denture Scan” ***)

8. To upload the compressed folder, login to Implant Concierge. Click on the patient’s name to open the case. Click on the red “Upload DICOM” button.


9. Drag and drop the folder from the desktop to Implant Concierge. The file will automatically begin uploading.


10. Once the file reaches 100%, click the green “Complete” button.

