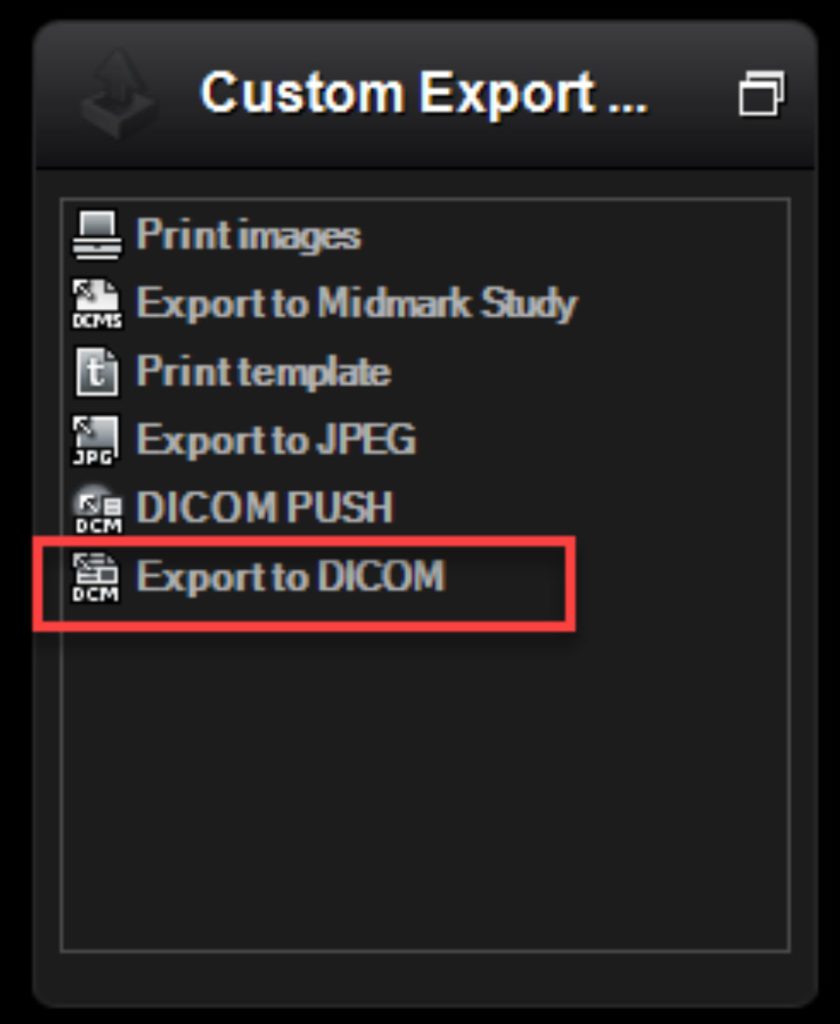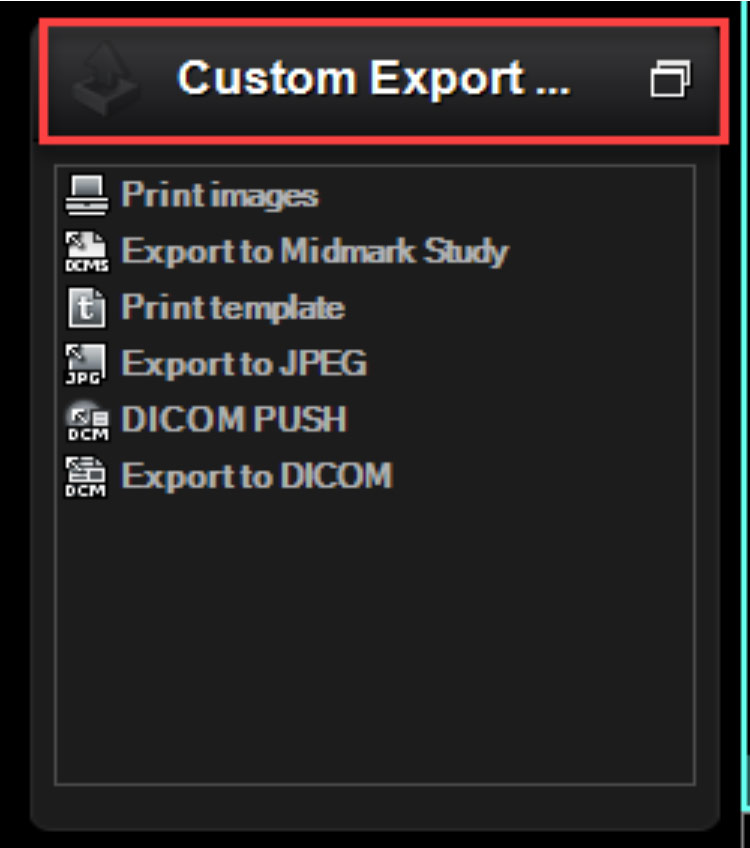
On the Custom Export window, select the Export to DICOM and make these selections:
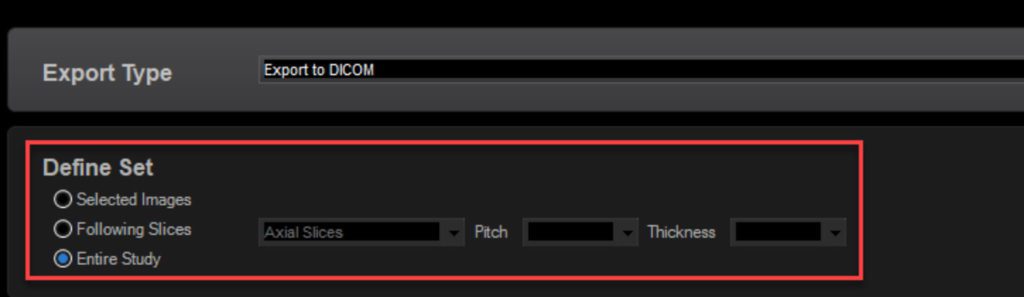
- Define set. In most cases, third party applications will accept the Entire Study, so leave that selection in place. Some applications may only accept Axial Slices, so select Following Slices, then Axial Slices and leave Pitch and Thickness unchanged. This document will be expanded over time to identify applications/sites that use the Entire Study or Axial slices.
- Destination. The Folder selection identifies the location where the data set (a large collection of .dcm files) will be exported to. You can leave the default C:\Export\ location or Browse to a specific folder you’ve created for this purpose. Some people use the Desktop as an easy location to find.

- Image Options. Leave these selections are Current.

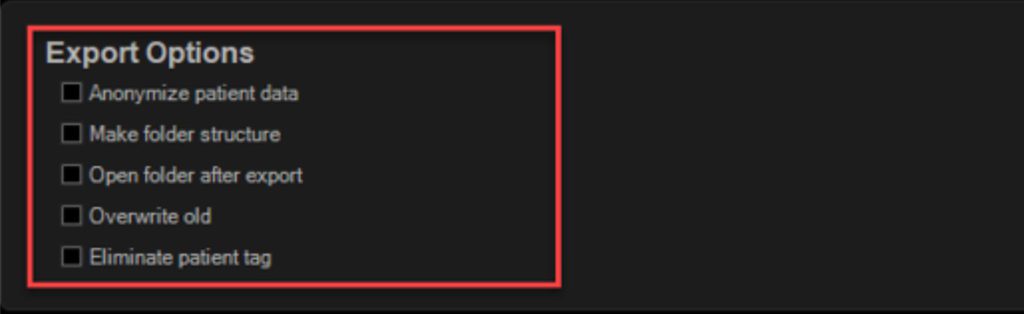
- Export Options
- Select Anonymize if you would like patient information removed.
- Select Make Folder Structure to create a specific, named folder for this data set. It is recommended to do this, especially if the Desktop is your destination. If you’re exporting to a specific folder created for this scan, then this selection could be left blank.
- Open Folder After Export opens the destination folder in Windows Explorer after the export is complete.
- Overwrite Old replaces a similar file(s) that exists in the export location.
- Eliminate Patient Tag, leave this blank as it currently has no functionality.
4. Script/Application. Leave this blank.