Diagnostic Wax up Dimple Technique

WHEN would you use the Dimple Technique?

The Dimple Technique is required if the following statements apply:

  • The case is a terminally dentate scenario
  • A surgery-ready provisional will be requested
  • You plan to alter the teeth position
  • A digital impression was NOT used to capture the current dentition & bite

WHY do we need the Dimple Technique?

In a terminally dentate patient, the surgical guide is designed to sit on the existing dentition (pre-wax-up model).  However, the final implant position will be planned off of the restorative wax-up.  Since the existing dentition is being changed, the reference points to overlay the pre-wax-up model to the post-wax-up model will no longer exist.  The Dimple Technique overcomes this obstacle.

HOW to perform the Dimple Technique?

1.

Take an impression of the patient’s existing dentition, a well-captured alginate or a PVS impression are both acceptable.  It is very important to include the bottom of the vestibule and frenal attachments as much as possible.

implant Dimple Technique

2.

Pour up a stone diagnostic cast ensuring a nice thick base has been added to the cast.

3.

Once the cast is set and separated, use a round bur or similar instrument to create landmarks (holes/dimples) on the base of the cast.  Make sure dimples are NOT too deep, shallow marks are preferred. A minimum of 4 dimples is recommended.

implant Dimple Technique

4.

Digitize the cast (preferably with a surface scanner), ensuring the dimples on the base are captured as well and provide in an .STL format.
If you are using an iOS scanner, please make sure you capture anterior and posterior dimples which are commonly missed using this technique.

  • This will be our cast of the patient’s existing dentition to overlay to the CBCT.  It is crucial that a great STL has been captured prior to moving on to the next steps
3d model of implant

5.

Use the same cast to create your diagnostic wax-up of the final prosthesis

6.

Once completed, digitize the wax-up cast. Ensure that the dimples on the base are captured as well and provide in an. STL format

7.

Once completed, digitize the wax-up cast. Ensure that the dimples on the base are captured as well and provide in an. STL format

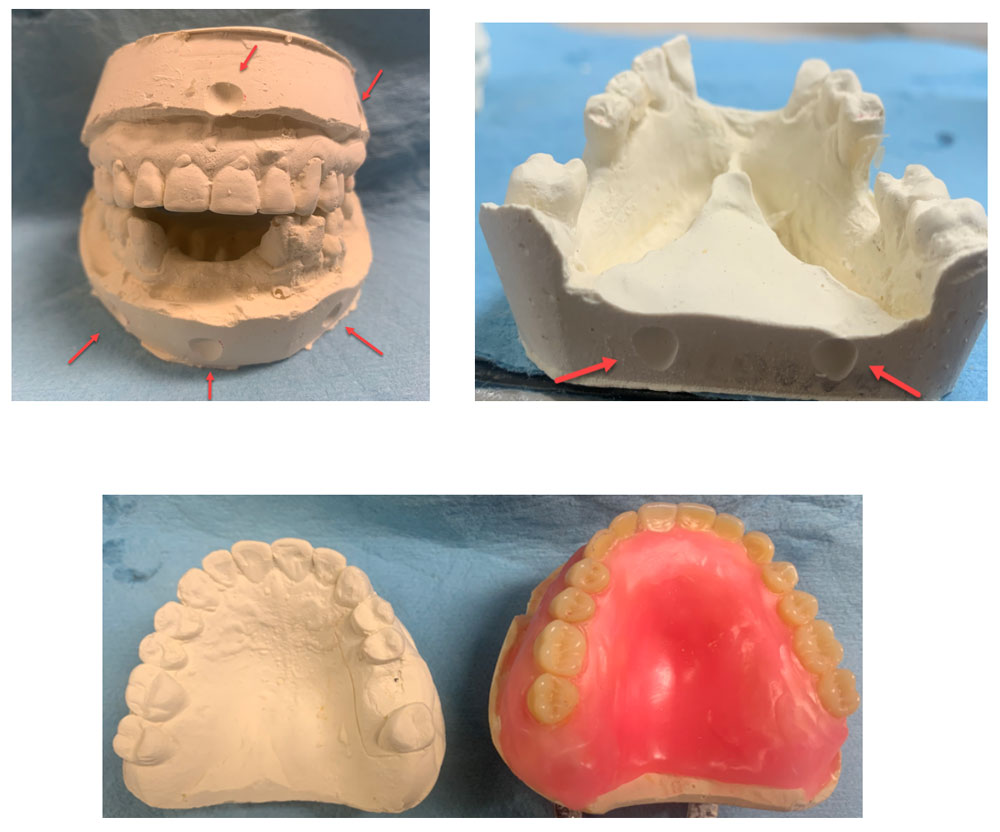
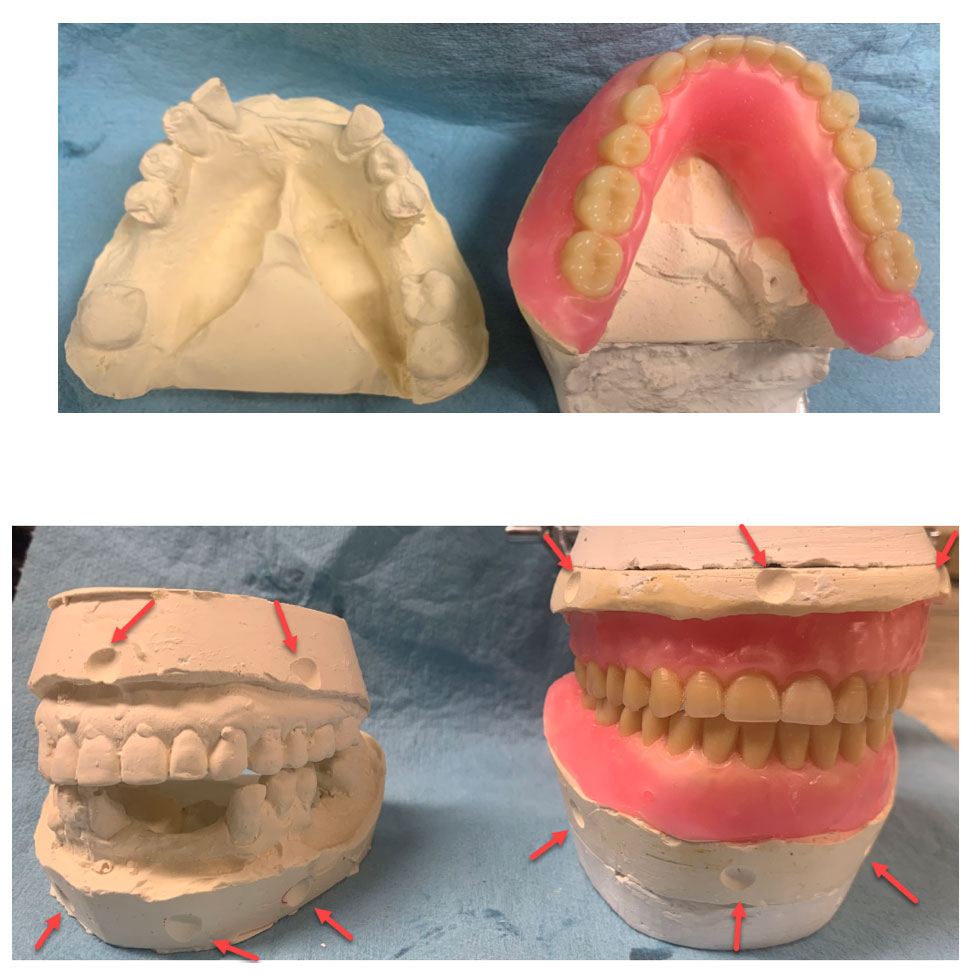
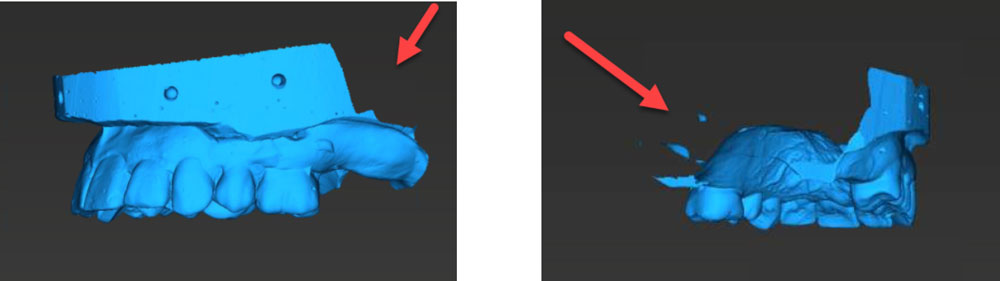
Note: If you do not have access to digitize these models to upload them directly to our website, you can print a shipping label from the case in Implant Concierge and have them mailed to us.  Following the same steps, you will duplicate your diagnostic wax-up to avoid any distortion during transportation and provide both models properly packaged via mail.

ATTENTION

Not all Implant Concierge services are available for all countries at this time.