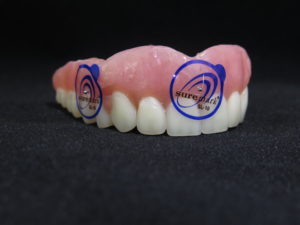
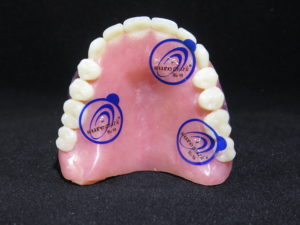
1. On a dry, well-fitting denture, place 6 x-ray markers:
Place 3 markers on the facial/buccal surface and an additional 3 markers on the palatal surface
Place the markers on varying axial planes.
Example: if you place a marker on the buccal area of #2-3, the place your next marker on the lingual area of #4-5 area, the next marker on the facial of #8-9 area and so on.
*Do not place the markers on the intaglio surface of the denture.*
2. Pre-Scan Patient Instructions:
Use a bite registration for separation, secure fit, and to eliminate rocking
Confirm fit by asking the patient “Is the denture fitting correctly?”
Breathe through your nose, close your eyes, and place the tongue at the back of the mouth
3. First Scan: Capture CBCT of ONLY the maxilla denture with the x-ray markers
Position appliance on a foam block
Orientate teeth occlusal DOWN
CBCT General Settings: 6cm – 8cm, 0.3 – 0.4 Voxel
4. Second Scan: Capture CBCT of the patient WEARING maxilla denture with x-ray markers.

 Rejected Scan
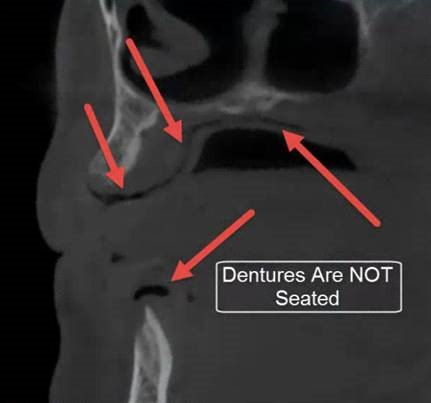
 Accepted Scan