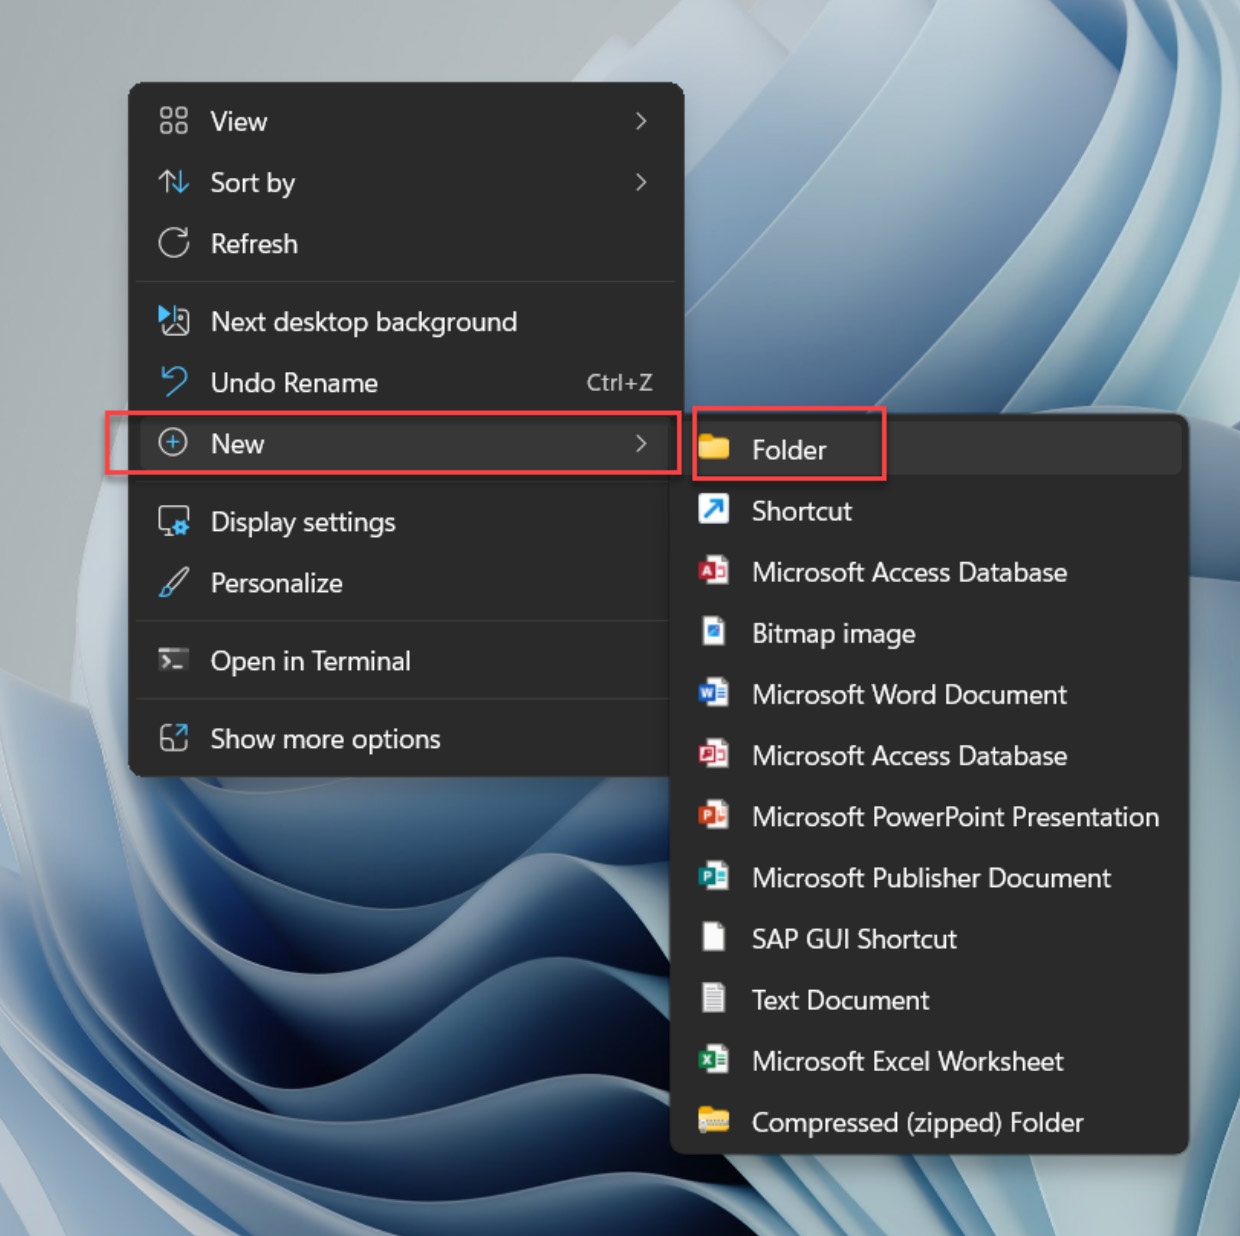
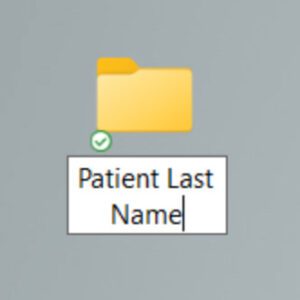
- On your desktop, right-click on any empty space. Choose “NEW” and then “Folder”. A folder will appear with highlighted blue text. Type in your patient’s last name and push “enter” on your keyboard.
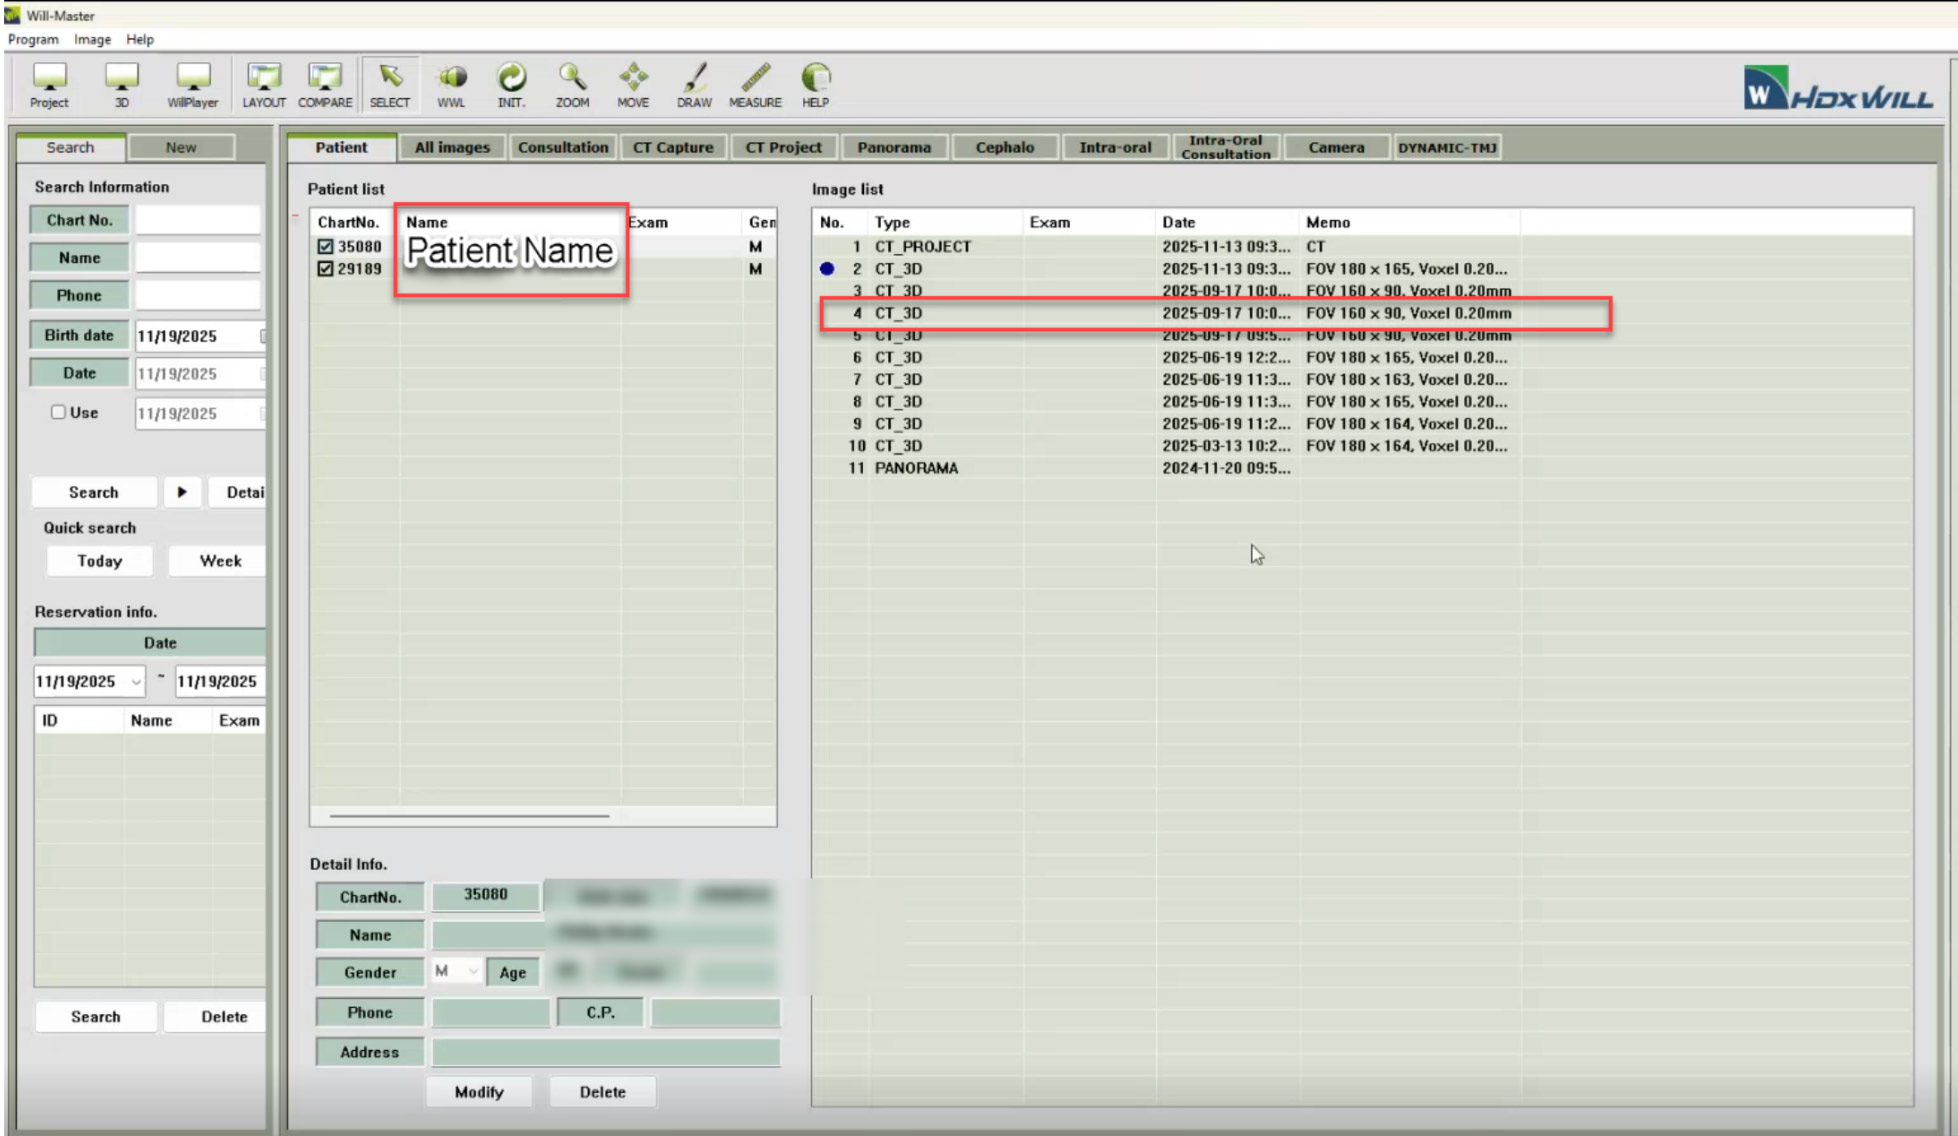
- In your Will-Master Software, locate your patient via the search
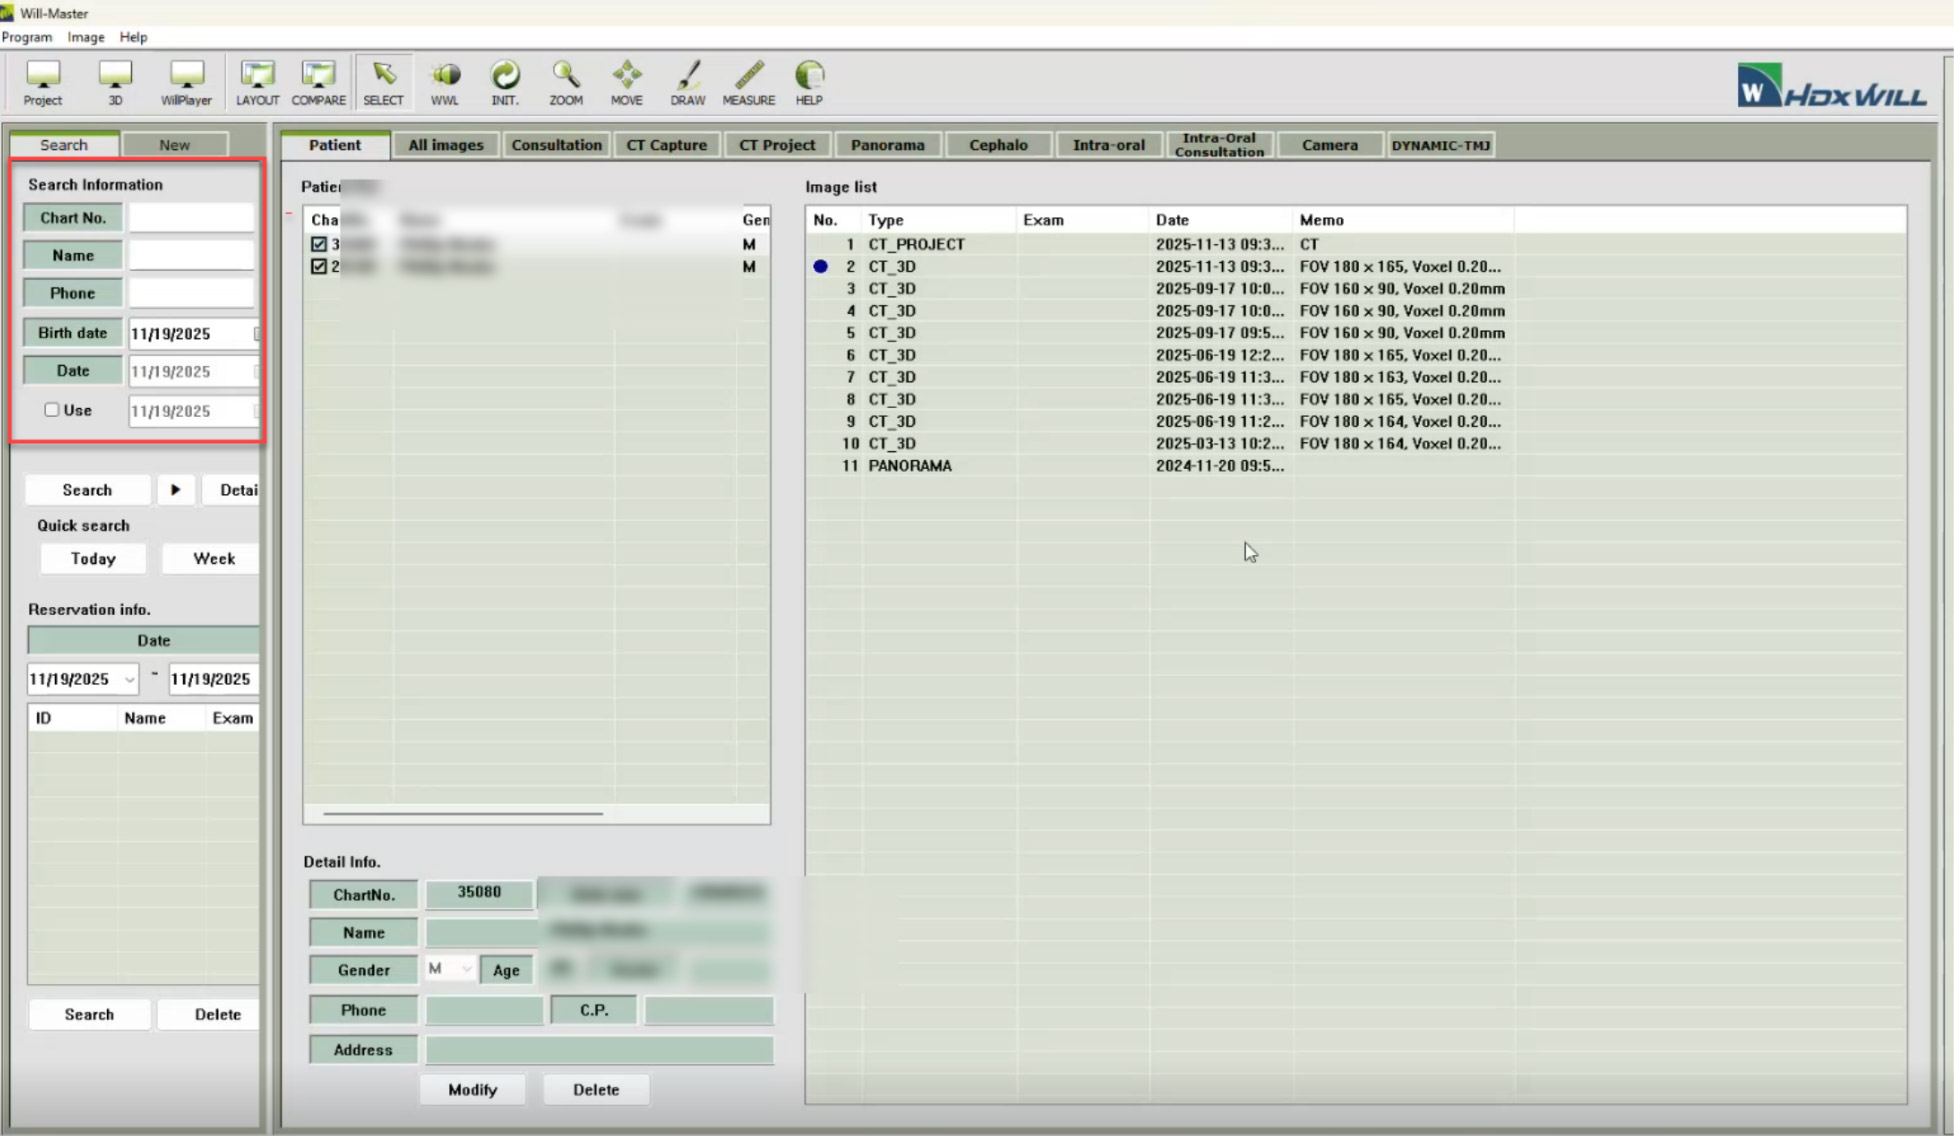
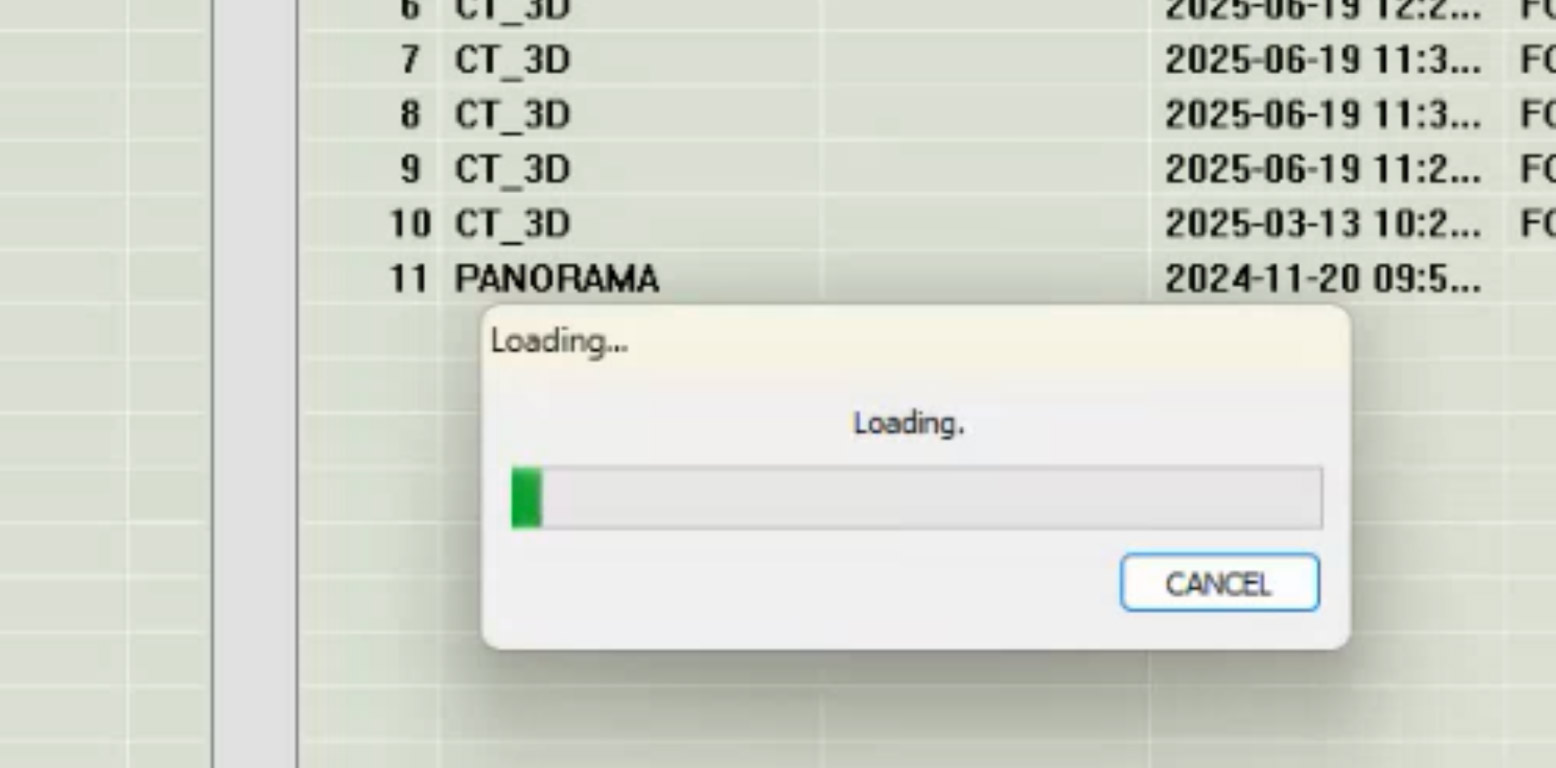
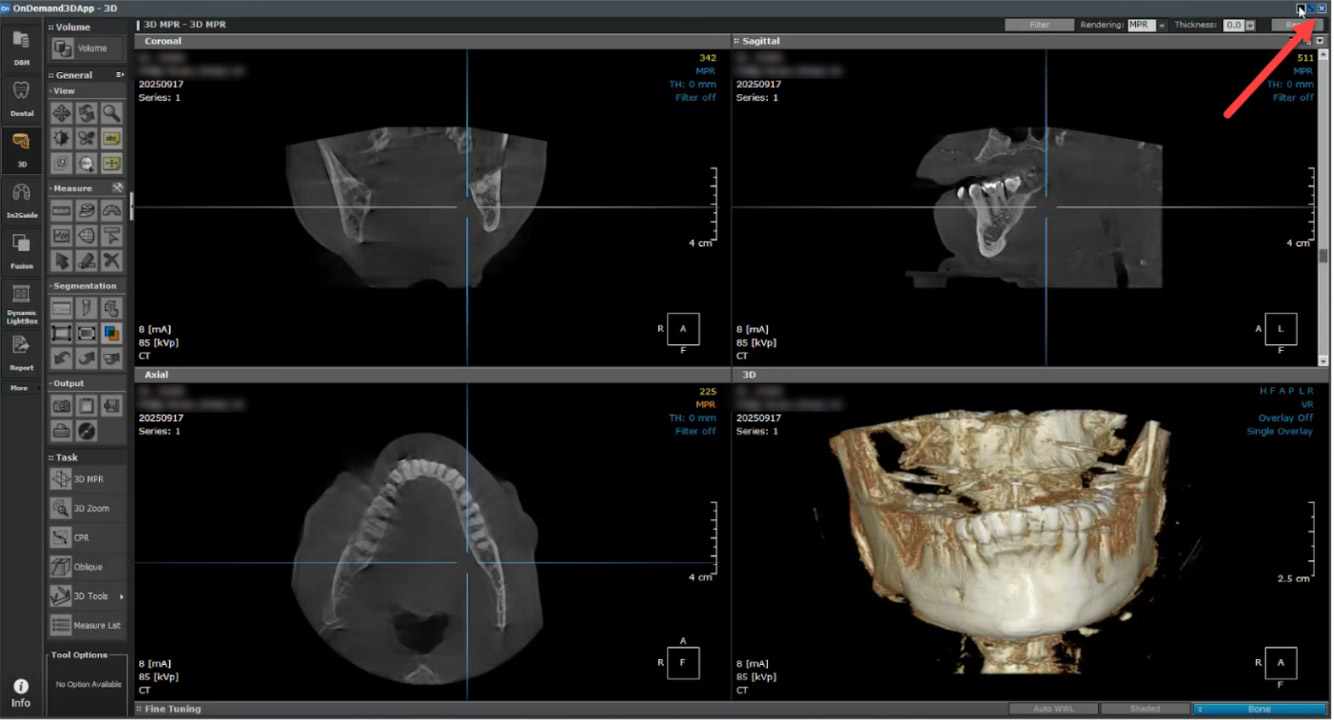
- Once your patient is located, click on their name to see a list of the CBCTs taken, then select and double-click on your desired scan. Your files will begin loading within the Will-Master Viewer software.
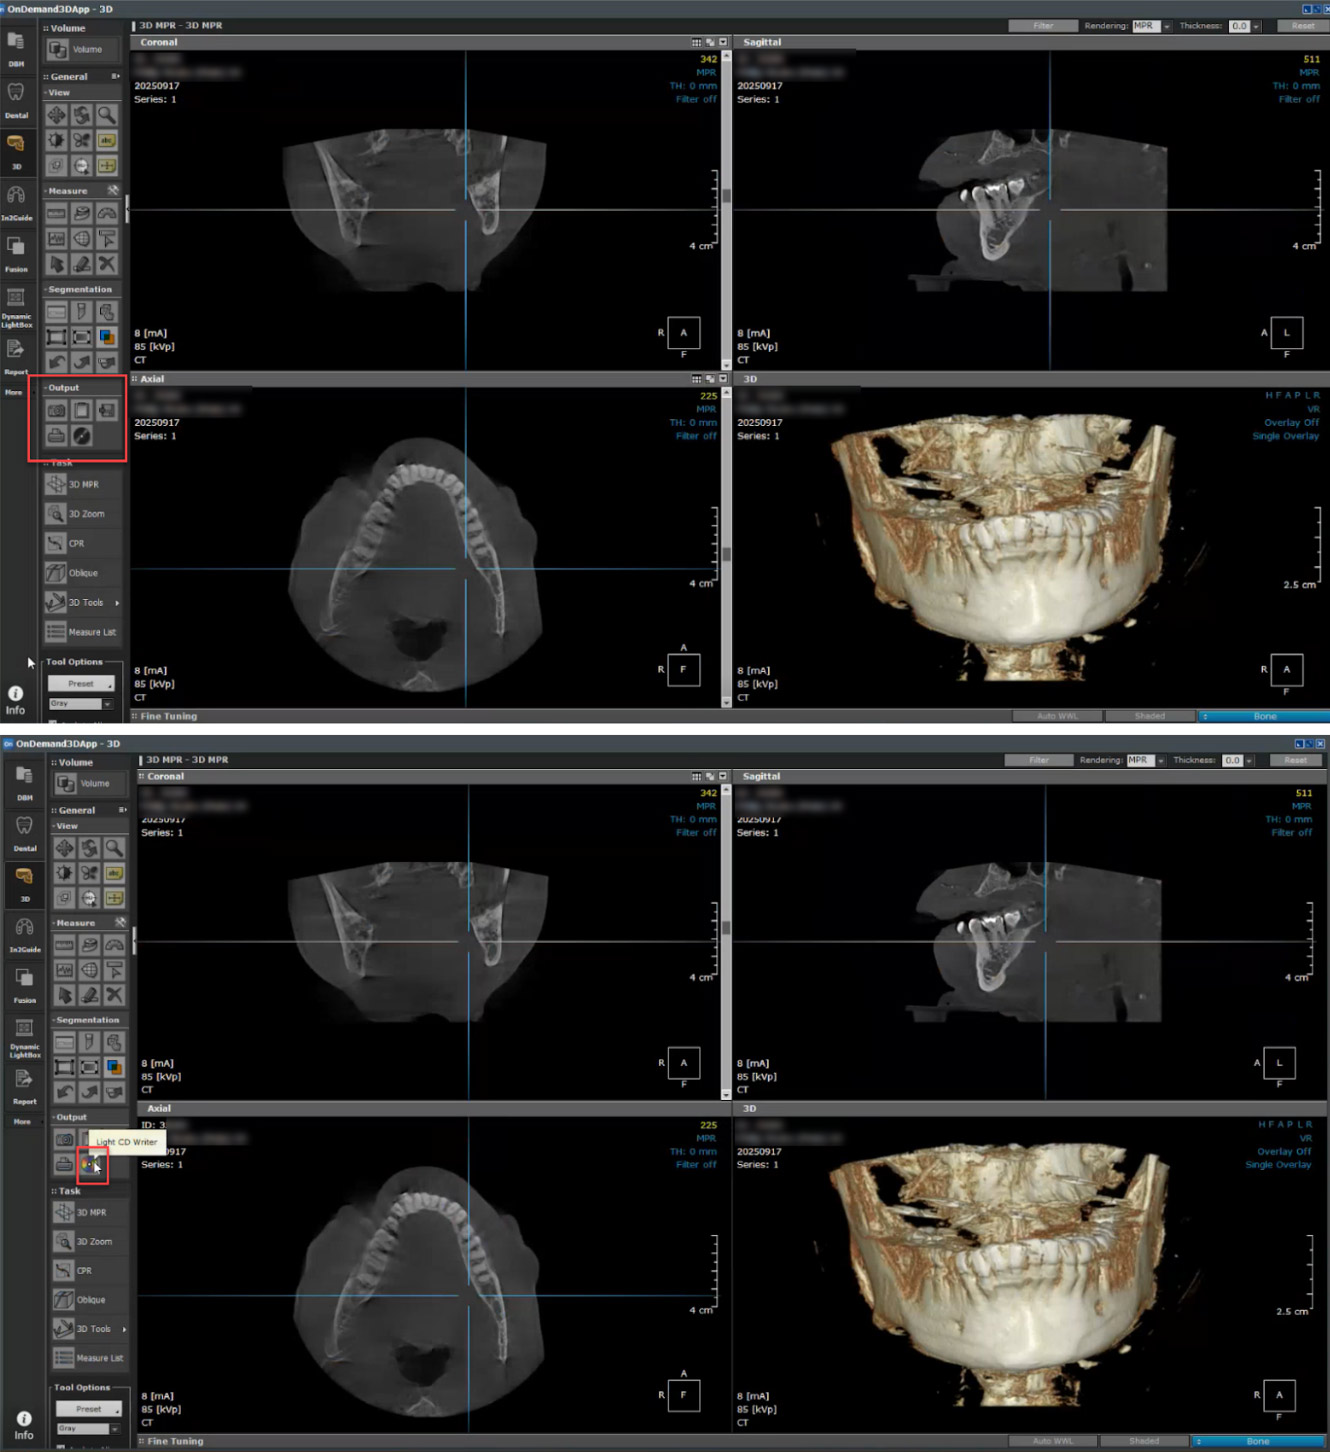
- Once your viewer is opened, locate the Output Tool bar and choose the Light CD Writer
- You will be prompted with a DICOM or PRJ + DICOM option. Choose DICOM. And your DICOM Dataset will begin importing.
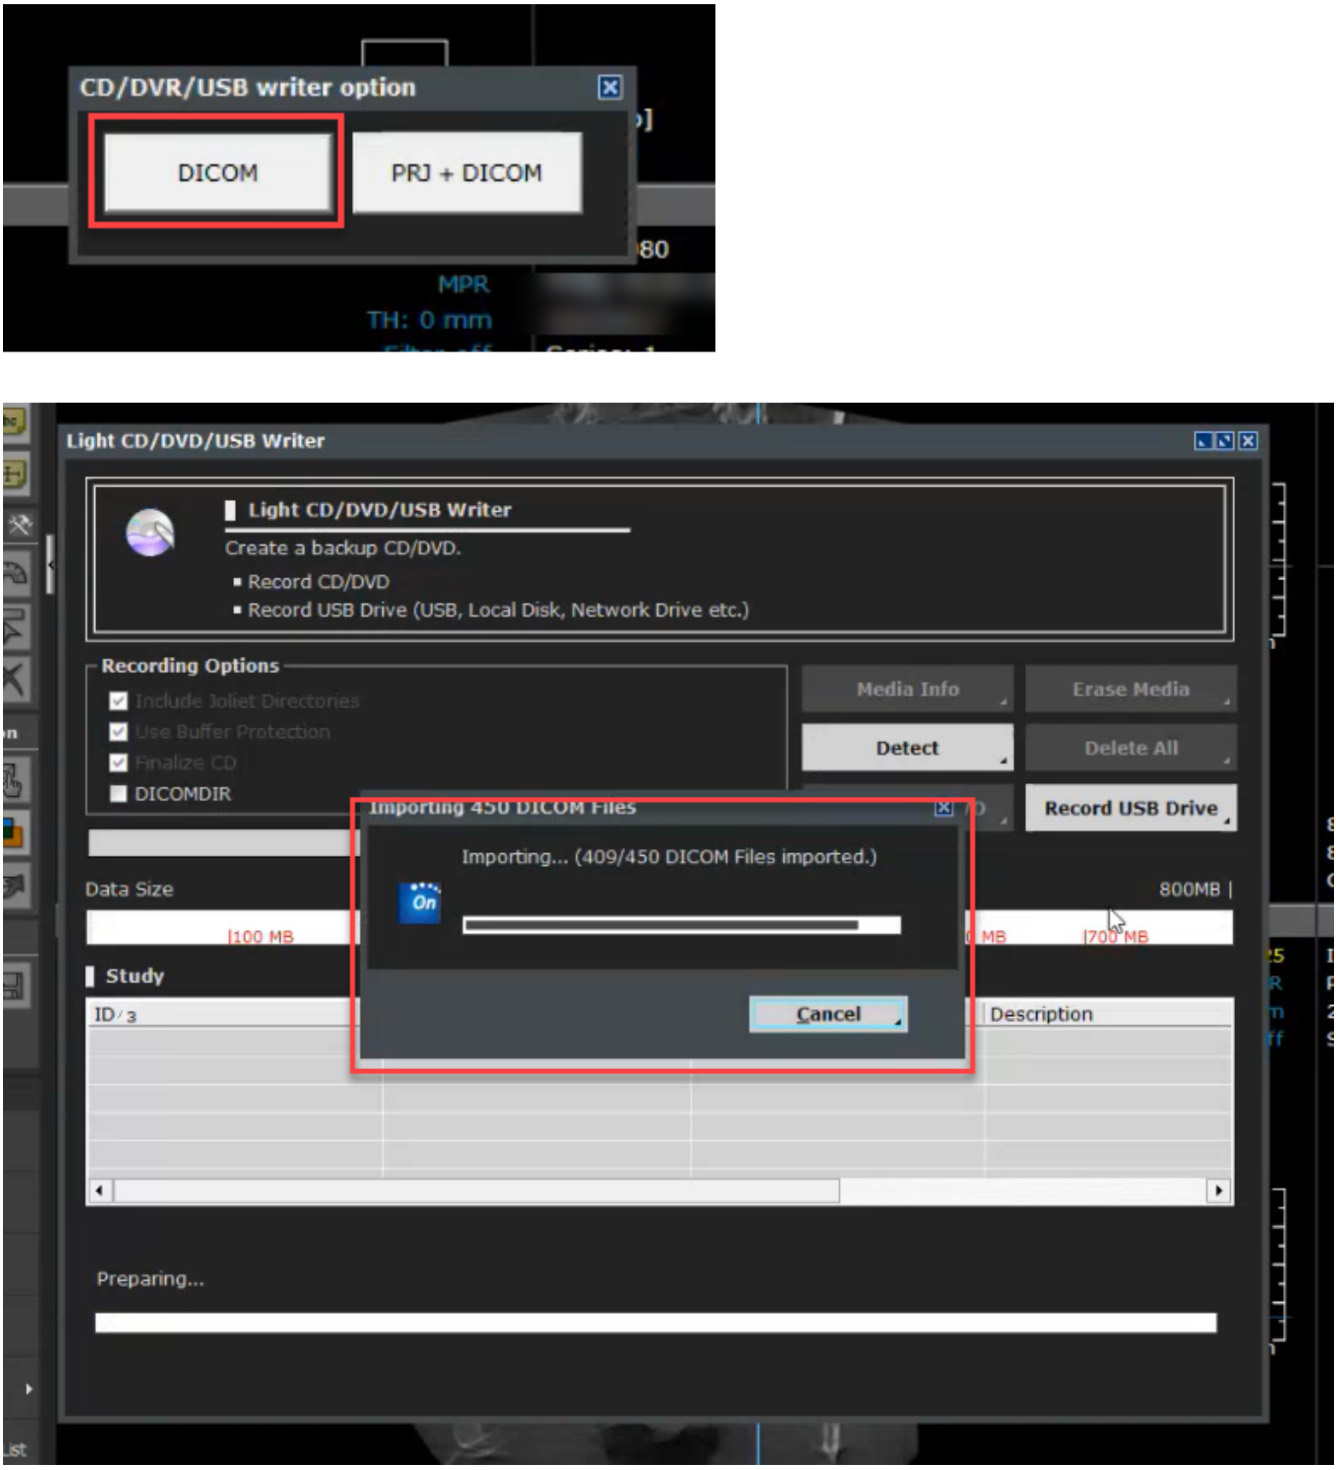
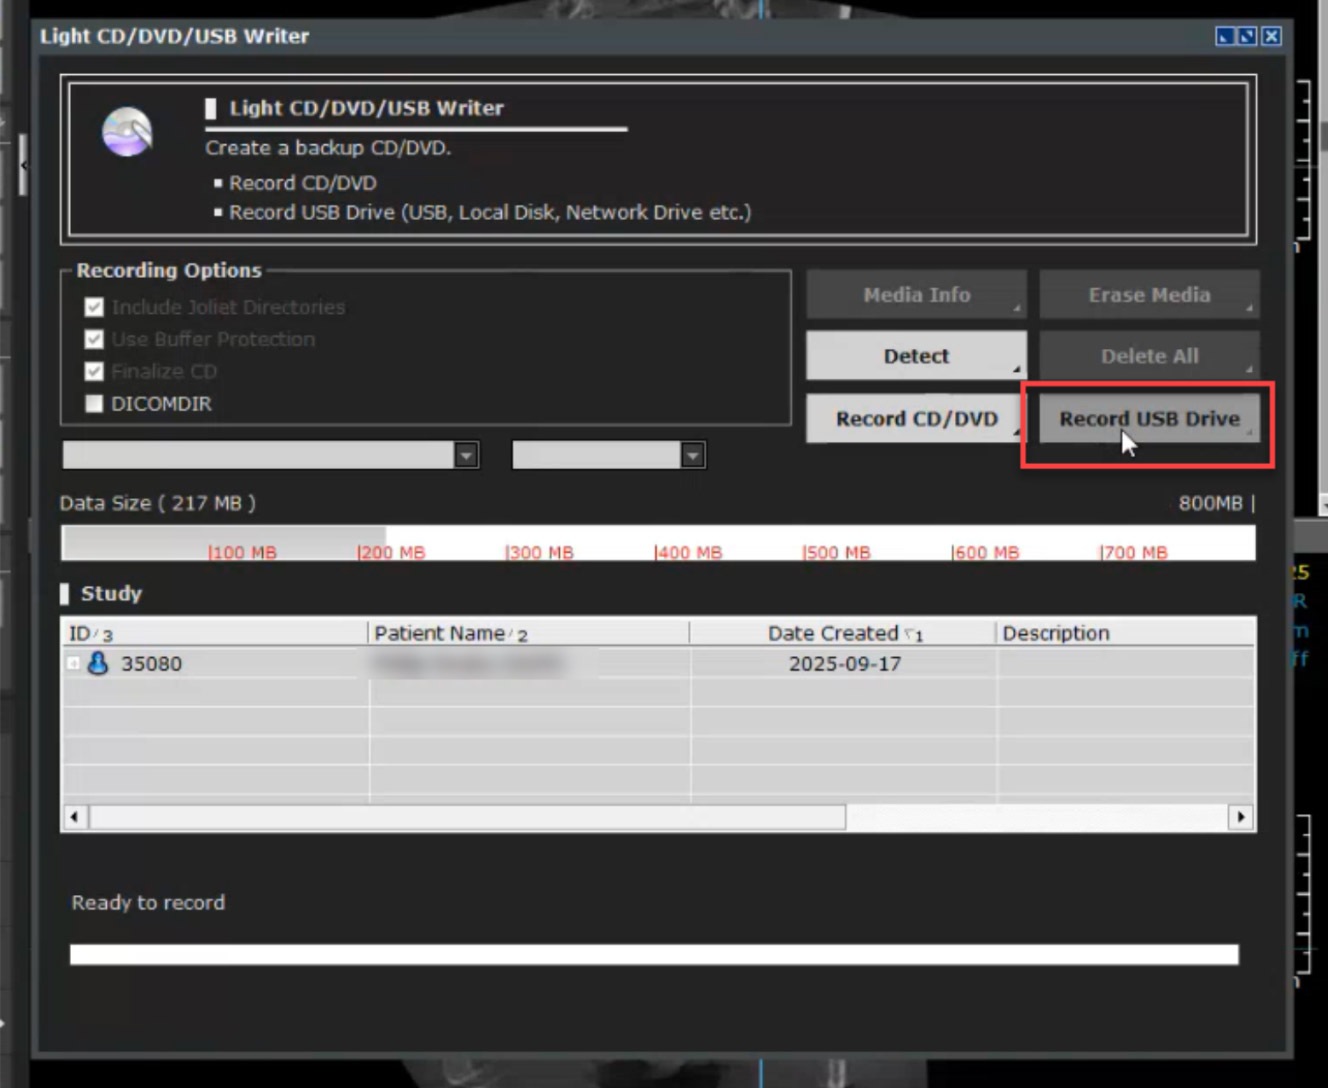
- Once imported, choose Record USB Drive and then locate the patient’s folder you made on your desktop and click OK.

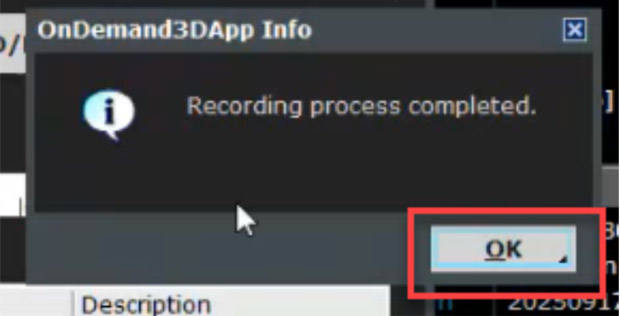
- A pop-up will appear indicating the Recording Process is Completed. Click OK.
- You may now close the Light CD/DVD/USB Writer window and the Will-Master Software.

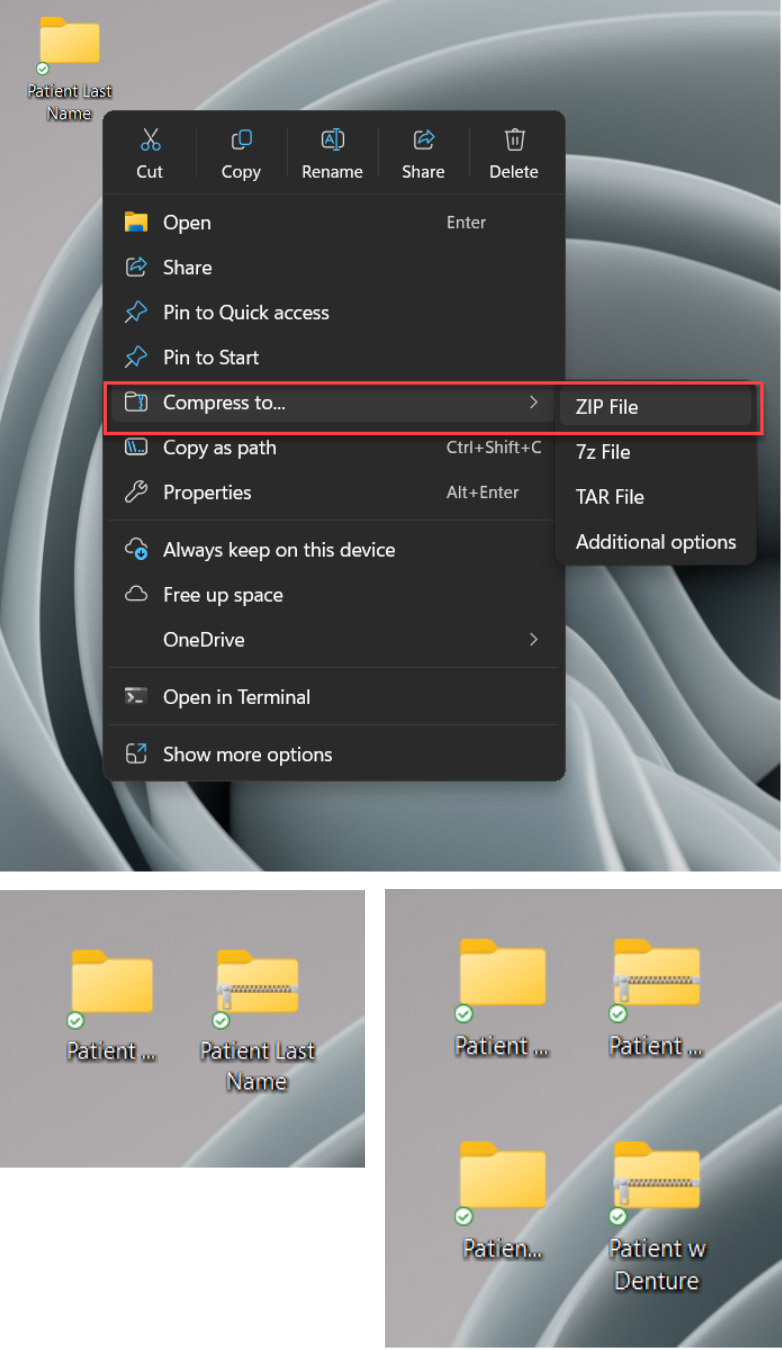
- Return to your desktop and right-click on the Patient’s Folder. Choose “Send To” or “Compress to” and select “Compressed (zipped) Folder”. A duplicate folder will be made with either a zipper on it or a blue Z.
- **If you are following the Dual Scan Protocol, you must export the patient scans individually. Please label them correctly and zip them individually.
- **If you are following the Dual Scan Protocol, you must export the patient scans individually. Please label them correctly and zip them individually.
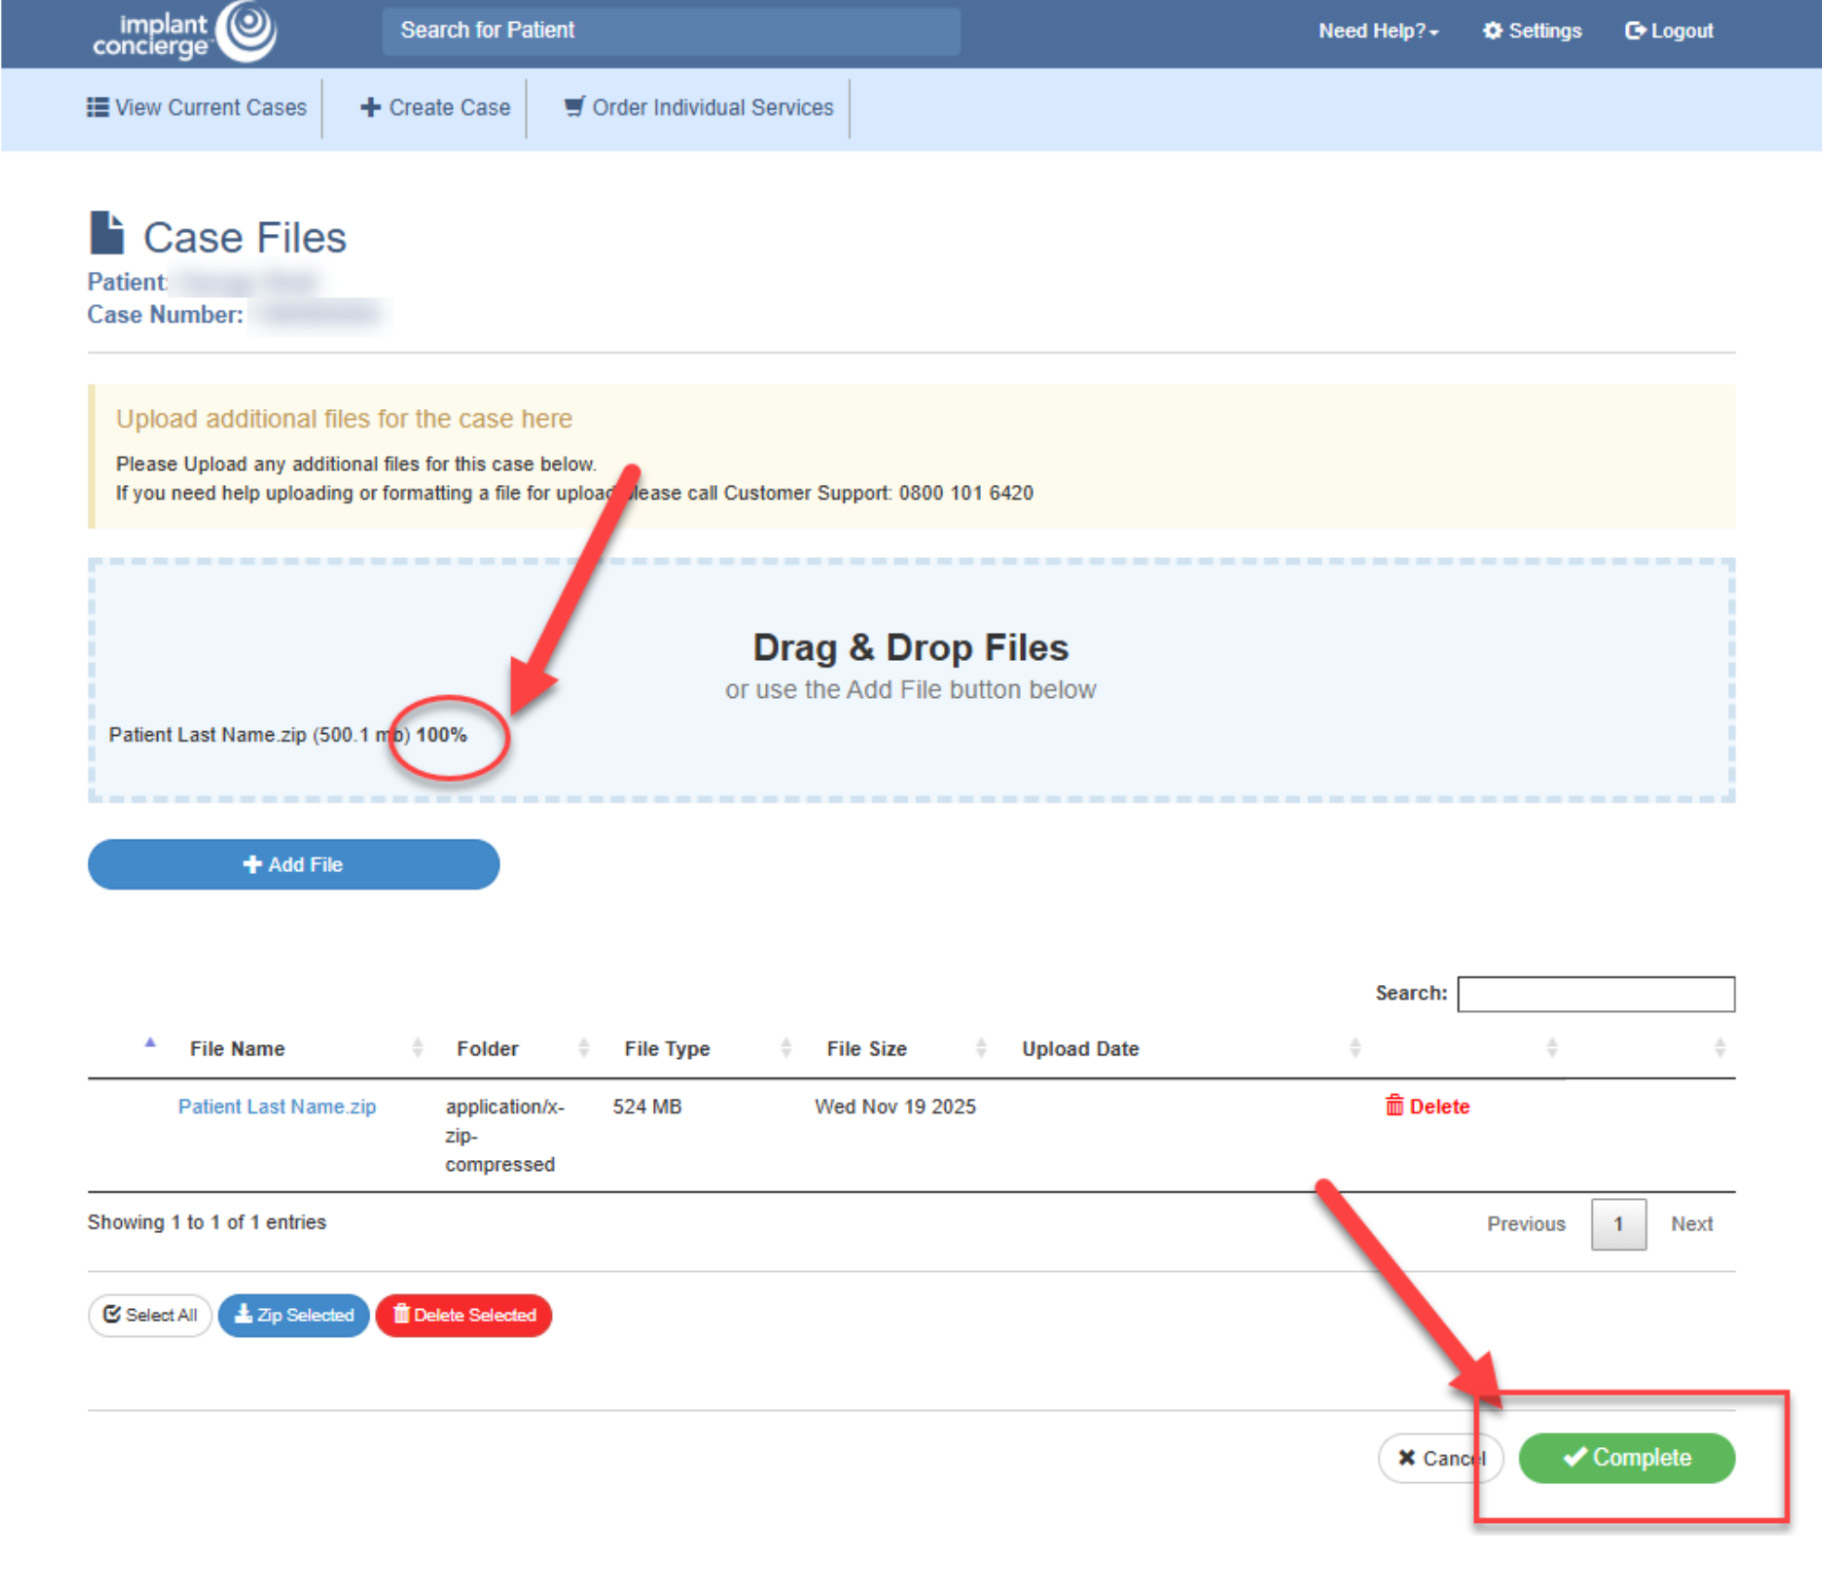
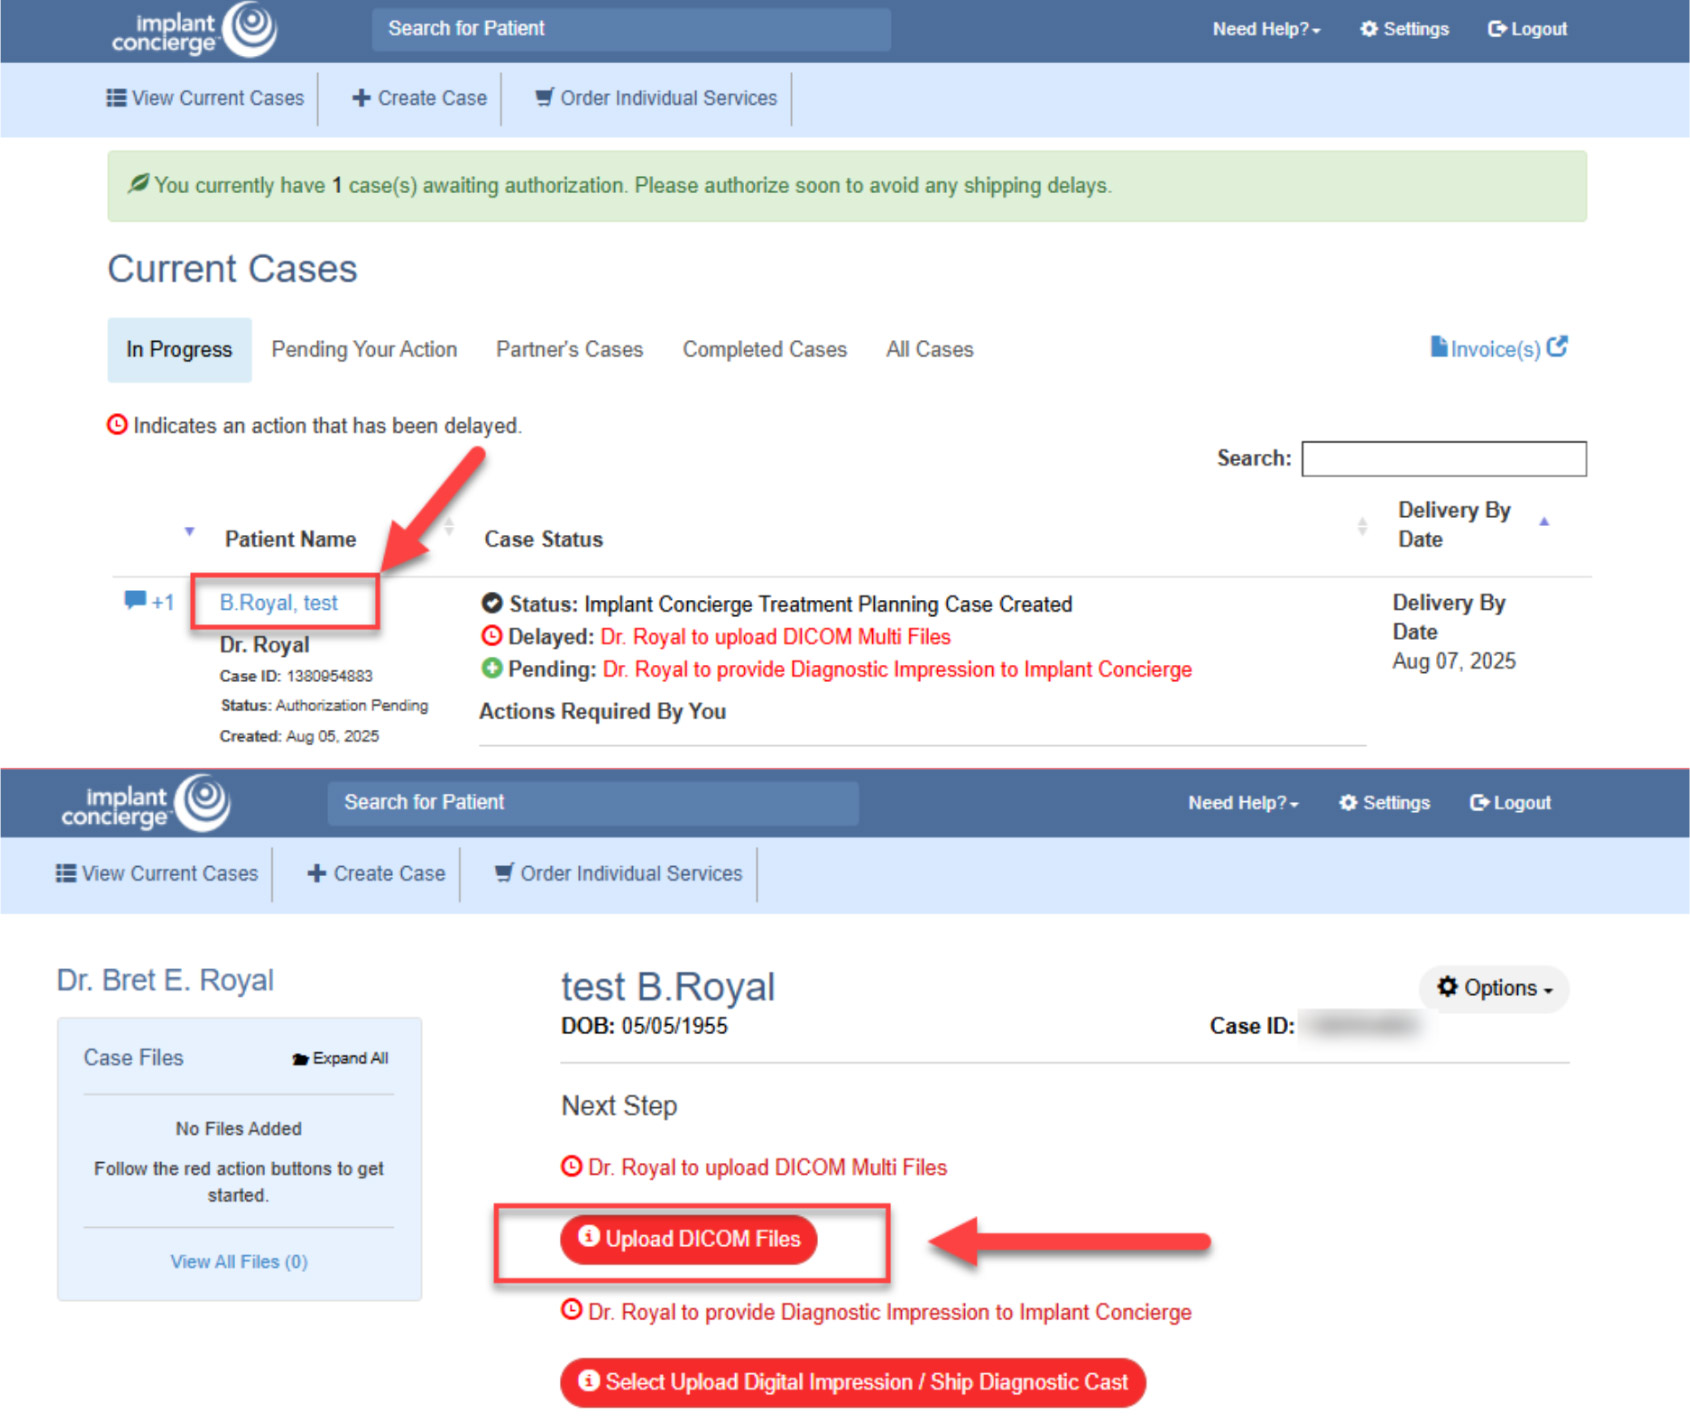
- To upload the compressed folder, log into your Implant Concierge account. Locate your patient and open their case. Click on the RED “Upload DICOM” Button.
- Drag and drop the Zipped Patient folder from your desktop to Implant Concierge. The file will automatically begin uploading.
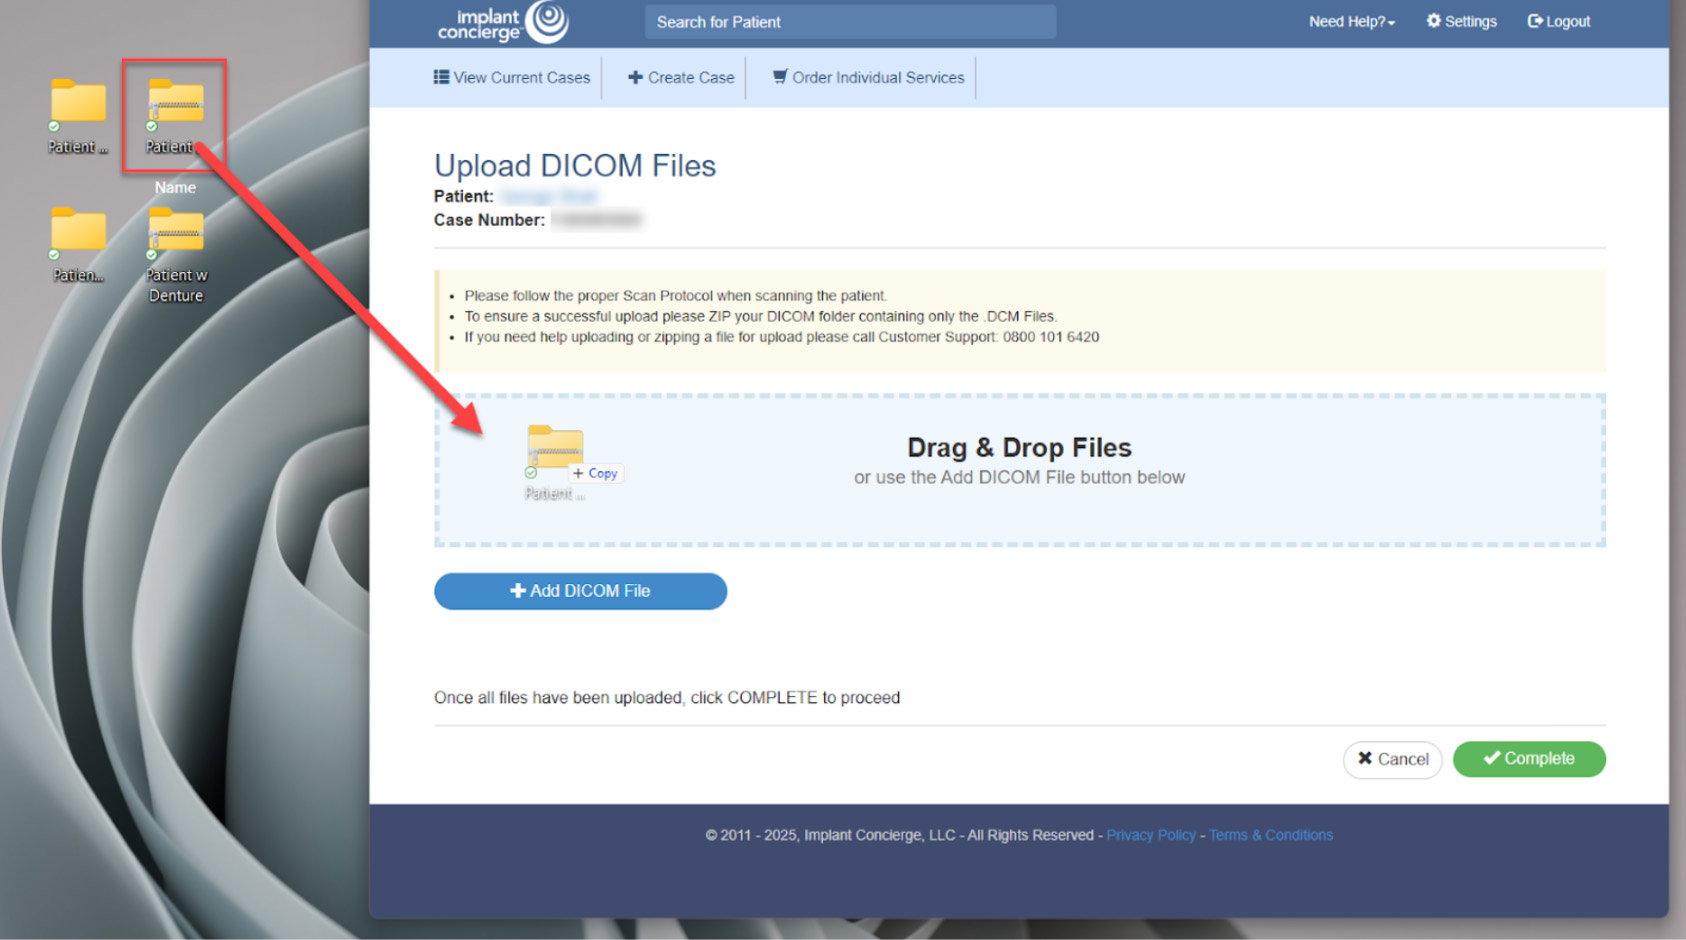
**If you are following the Dual Scan Protocol, you must export the patient scans individually. Please label them correctly and zip them individually.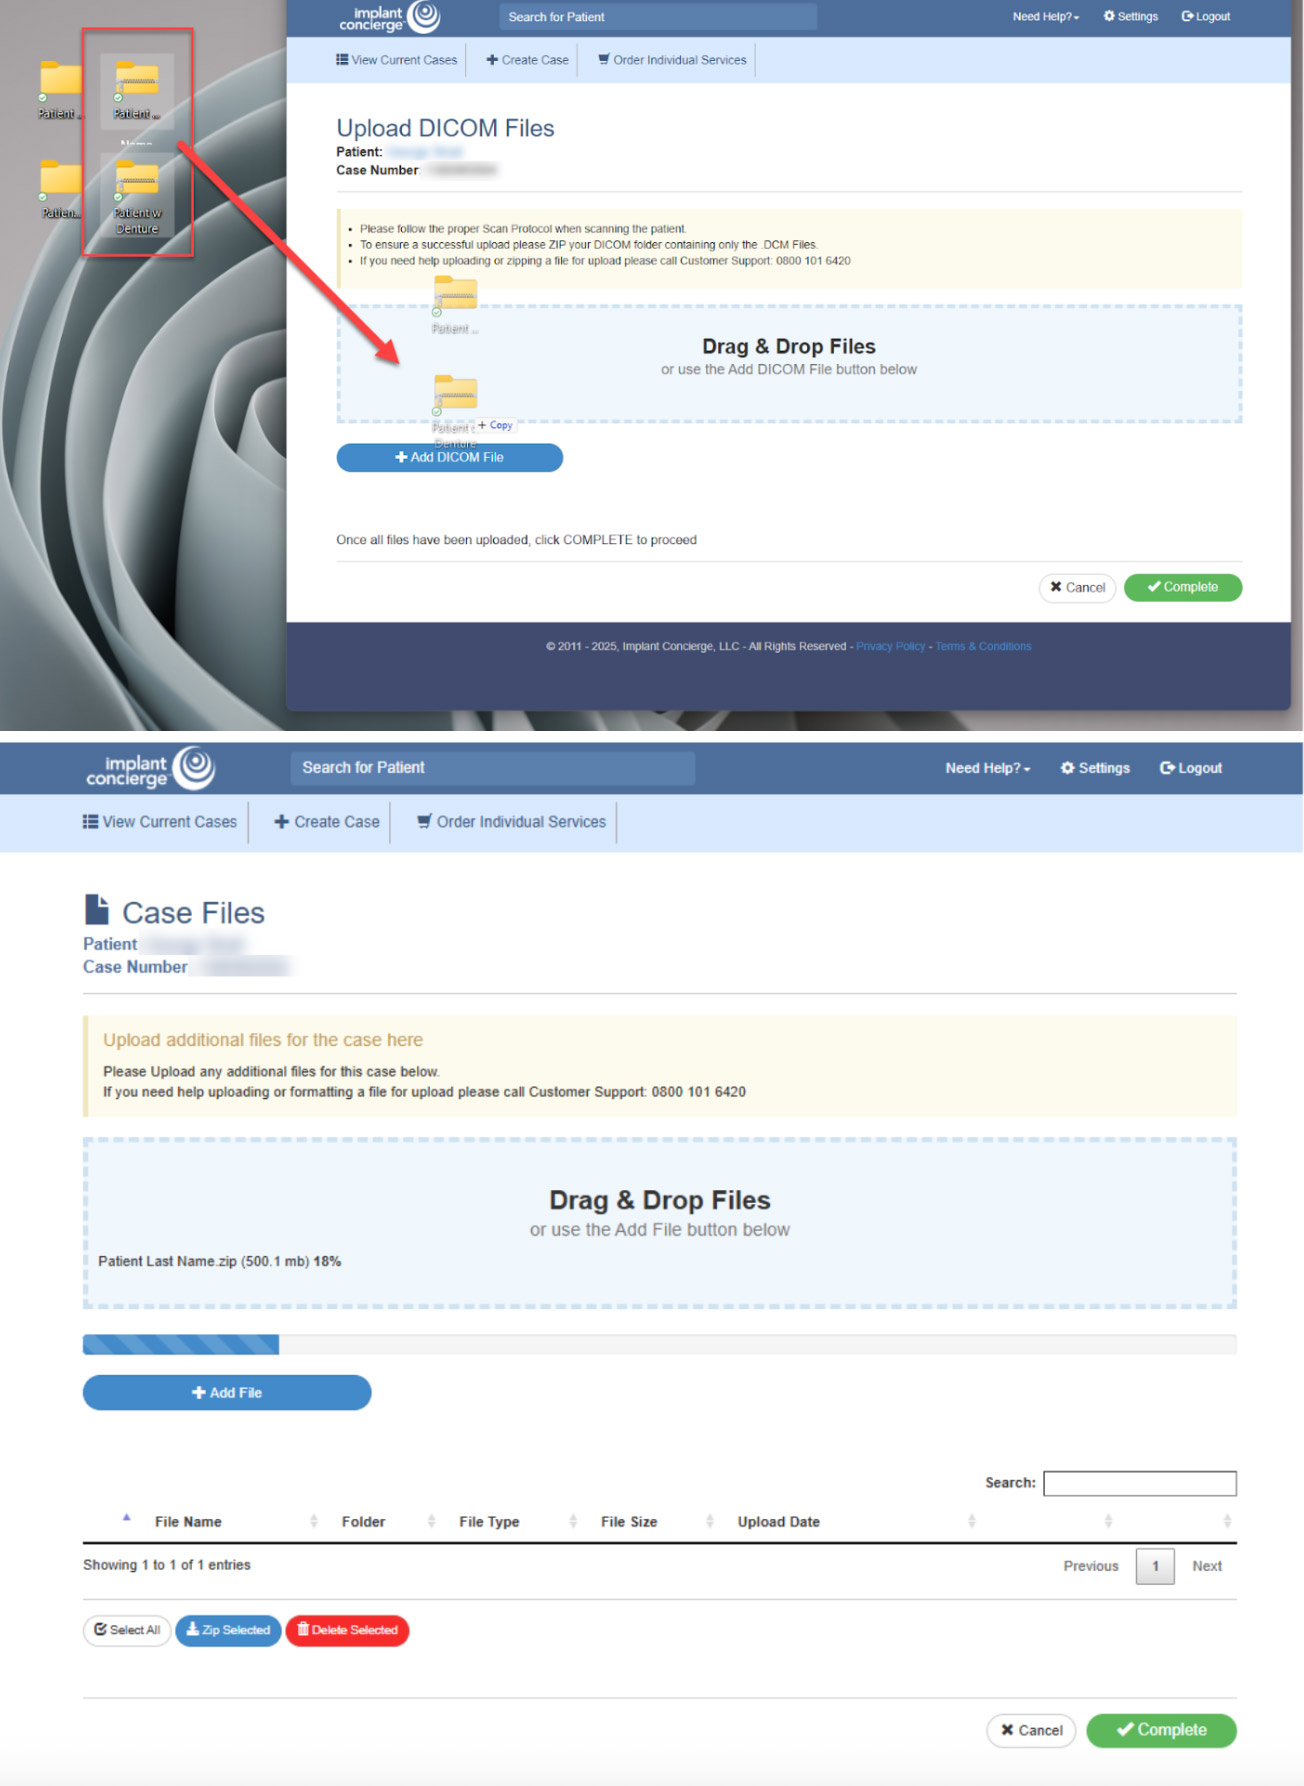
- Once the file reaches 100%, click the green “Complete” button at the bottom of the page.